Short answer: add a Timeline view to any Notion database that has a date range property. To share it with clients, invite them as guests (they need a Notion account), share it with anyone on the web with the link, or Publish it as a public page. Notion has no client portal of its own. For a simple progress view, export the database to CSV and share a live Waypoint link.
How to make a timeline in Notion
- Open your project database and click + next to the view names.
- Choose Timeline.
- Use a date range. In the view’s layout settings, set Show timeline by to a date property with a start and end date.
- Add dependencies if you need them, from the database settings.
Notion databases also have Board, Calendar, Table, List, Gallery and Chart views. Dashboard views are on Business and Enterprise.
Sharing a Notion project with clients
| Option | Client needs an account | What the client sees |
|---|---|---|
| Guest | Yes, a Notion account | The pages you invite them to, at the permission you choose. Free plans allow 10 guests; paid plans allow more. |
| Anyone on the web with the link | No (to view) | The page and its database views; commenting or editing needs a login |
| Publish (Notion Sites) | No | A public web page, including subpages. There’s no password, and page details can show contributors’ names and emails. |
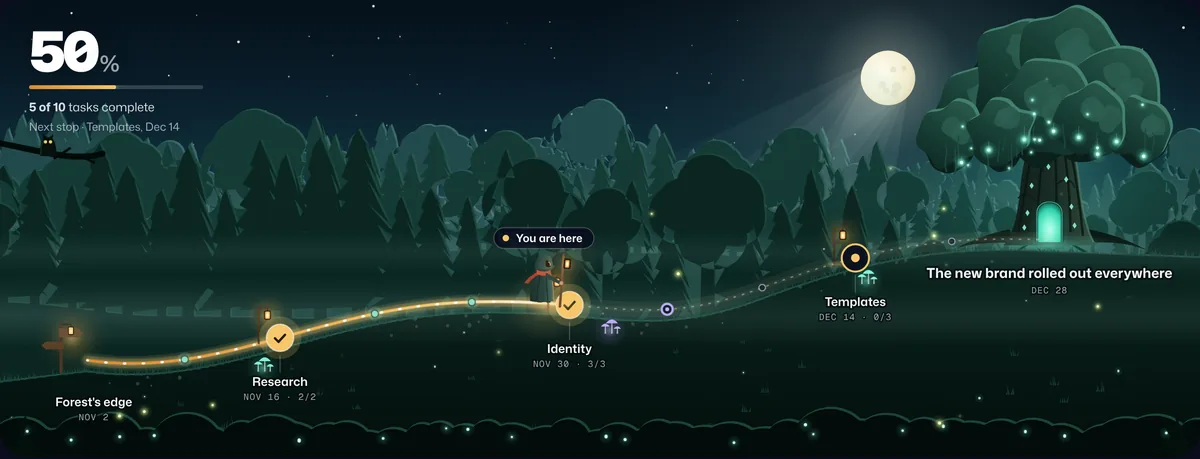
| Live Waypoint link | No | Progress, stops and blockers, with task names and dates only if you choose |
Why a Notion page is hard for clients
- It’s your workspace. Properties, linked databases and internal notes are part of how your team works, not what a client needs.
- Public means public. Anyone with the address can open a published page, search engines can list it, and every subpage comes along.
- The timeline needs reading. Bars and properties answer “who’s doing what”. Clients want “how far along are we, and when do we land”.
Turn a Notion database into a live client view
- Export from Notion. Open the database as a full page, click ••• at the top right → Export, choose Markdown & CSV and export. Unzip the download and upload the .csv inside. Notion exports the current view (or the default view).
- Upload it to Waypoint. Start a journey, choose Upload a file and drop in the export. Waypoint finds the task, status, due date and owner columns, suggests a select property such as Phase or Project for the stops along the route, and maps statuses like “In progress”, “Blocked” and “Done” to four states: not started, in progress, blocked and done. A live preview updates as you adjust.
- Name the destination. The outcome your client cares about, like “Checkout 2.0 live for every customer”, and the target date.
- Choose what clients see, then share the link. Stop names, task names and dates are each on or off. Owners and internal notes are never shown. Clients open the link in any browser, with no account, and tap a stop to see its tasks.
- Keep it current. Upload a fresh export to the same journey (journey settings → Change source or columns); Waypoint remembers your columns and the link stays the same. Or keep the tasks in a Google Sheet: Waypoint re-checks a shared sheet every 15 minutes, so the journey moves on its own.
Frequently asked questions
How do I make a timeline in Notion?
Add a Timeline view to a database (click + next to the view names) and set Show timeline by to a date property that has start and end dates.
Do Notion guests need an account?
Yes. Guests sign up for a Notion account if they don’t have one. Free plans allow 10 guests and paid plans allow more.
Is a published Notion page private?
No. Published pages are public to anyone with the address, have no password option, and can show contributors’ names and emails in page details.
Does Notion have a client portal?
Not a built-in one. Teams use guest access, link sharing or published pages, or a Notion client portal template.